Customers
The customers section of Reef Pay is where you can manage your business's customer database. Along with managing customers, you can also:
- Set-up and monitor recurring bills.
- Store card information for later purchases.
- Leave notes to document important customer information.
- Perform customer sales and refunds quickly.
To access this section, select Customers on the navigation sidebar.
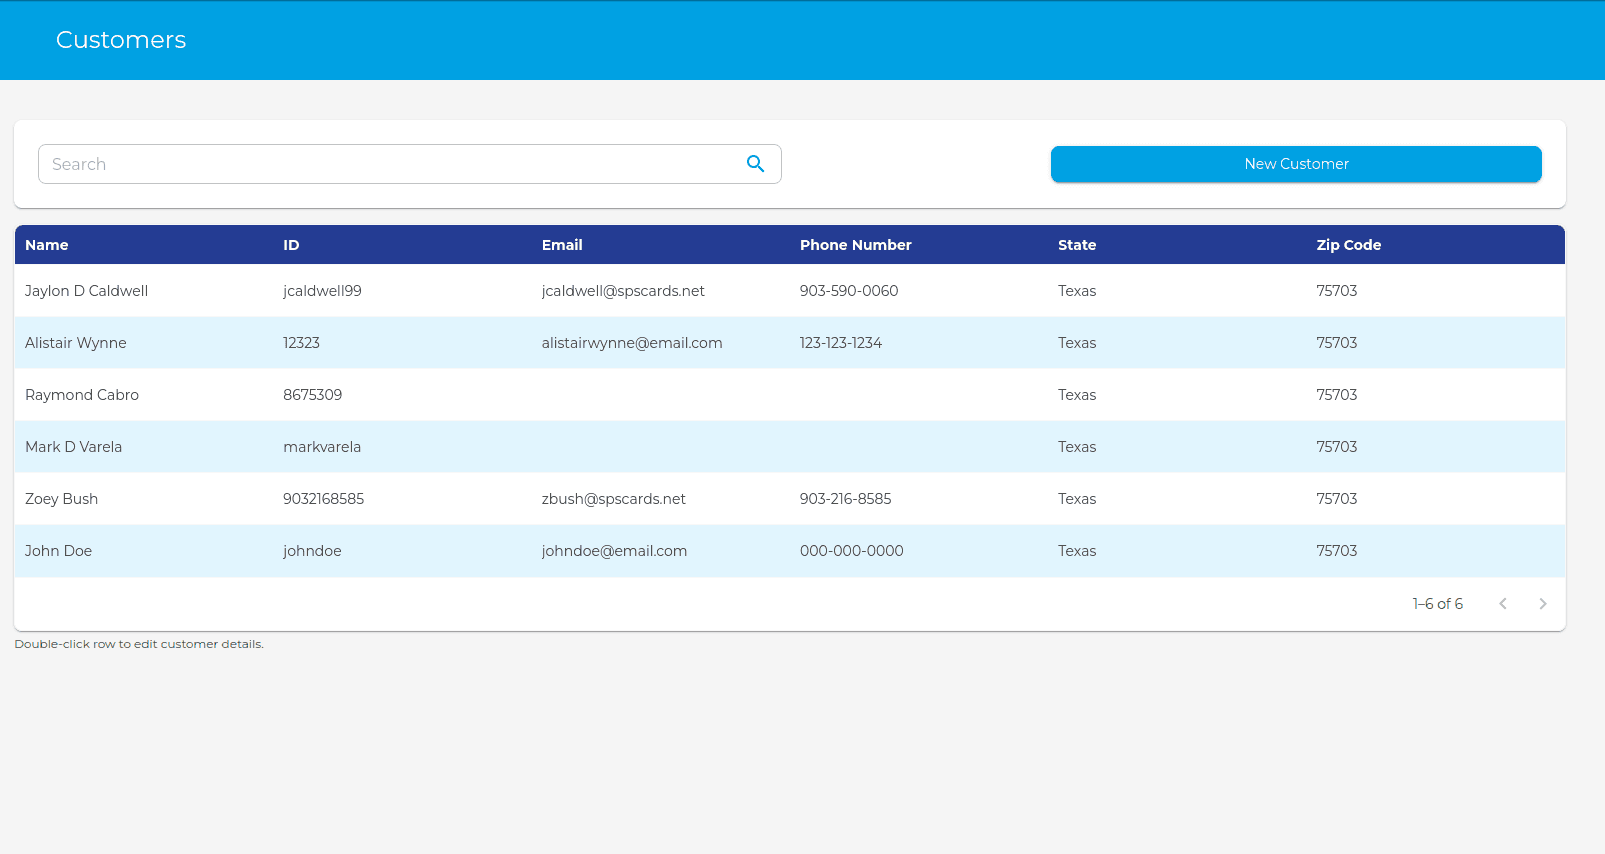
Creating a Customer
Click New Custome" to begin.
When creating a new customer, only the General and Notes tab will be available.
- Click New Customer.
- Assign a Customer ID.
This must be unique and cannot be changed!
- Enter the customer's first and last name.
- Enter the customer's address, city, state, and zip.
- Click Save & Close.
Editing a Customer
To edit an existing customer, double-click the row of the customer. This will open the customer dialog and allow you to utilize additional customer features.
General
This tab allows you to change basic customer information such as their name, address, and contact information.
Cards
This tab displays all of the customer's cards currently on file. These cards are available for use across Reef Pay on sections such as the virtual terminal, recurring billing, and quick sales.
Adding a Card
To add a card from this tab, a customer must have performed a transaction under their name within the last 72 hours.
- Select the Billing History tab.
- Select a transaction that is associated with the desired card.
- Click Save Cards.
Removing a Card
To remove a card, click the red trash icon on the card.
Plans
This tab offers the ability to create and manage the recurring billing plans associated with the customer.
Starting a Plan
- Click Add New.
- Select a billing plan.
- Select a start date.
- Select a payment method.
- Click Create.
Toggling a Plan
By toggling the Active checkbox, you can enable / disable a plan from being processed.
Deleting a Plan
To delete a plan, click the red trash icon on the plan you would like to remove.
Quick Sale
The customer must have a card on file to perform a quick sale.
This tab offers the ability to quickly perform sales using the customer's stored cards. To perform a quick sale:
- Select a card to perform the transaction.
- Enter a charge amount.
- Enter a tax rate.
- Complete any optional fields as necessary.
- Click Confirm.
Quick Refund
To perform a quick refund, a customer must have performed the transaction under their name within the last 72 hours.
This tab offers the ability to quickly perform refunds on recent customer transactions. To perform a quick refund:
- Select the transaction to be refunded.
- Click Quick Refund.
- Enter the refund amount.
- Click Confirm.
Billing History
This tab provides a view of the recent transactions associated with the customer's name. To save cards from the transactions found here, reference the Adding a Card section.
Notes
This tab offers the ability to leave important notes regarding your customers. By properly utilizing these notes, you can effectively communicate and organize with your team.
Writing a Note
- Enter the note.
- Select a note level. This can help distinguish the significance of any particular note.
- None - No significance.
- Low - Little significance.
- Medium - Some significance.
- High - Utmost significance.
- Click Add Note.